Introduction
No Bake Salted Caramel Cheesecake Cups are the ultimate answer to effortless elegance in dessert form. These creamy, dreamy treats combine the richness of cheesecake with the buttery sweetness of caramel plus that irresistible hit of sea salt all beautifully layered in individual cups. The best part? You don’t need an oven, a springform pan, or even baking skills.
Perfect for holidays, parties, or an indulgent night in, these dessert cups are quick to make, easy to serve, and hard to resist. Whether you’re a busy home cook or a dessert enthusiast looking to wow guests, this guide will walk you through everything from crust to caramel drizzle.
Table of Contents

No Bake Salted Caramel Cheesecake Cups
- Total Time: 40 minutes
- Yield: 6–8
Description
Creamy, dreamy, and no oven needed. Try these No Bake Salted Caramel Cheesecake Cups for your next gathering. Ready in minutes, gone in seconds.
Ingredients
Full-fat cream cheese, whipped cream, powdered sugar, vanilla extract, caramel sauce, crushed graham crackers or cookies, butter
Instructions
Mix and press crust, beat filling, fold cream, assemble layers, chill
Notes
Top with whipped cream and extra caramel
- Prep Time: 20 minutes
- Cook Time: 20 minutes
Why No Bake Salted Caramel Cheesecake Cups Are the Perfect Treat
The Irresistible Flavor Combo of Salted Caramel and Cheesecake
When it comes to crowd-pleasing desserts, No Bake Salted Caramel Cheesecake Cups strike the perfect balance between sweet and salty, creamy and crunchy. Salted caramel has exploded in popularity over the last decade, and for good reason—it adds a complex, luxurious depth to any dessert. Pair it with the smooth tang of cream cheese and a buttery crust, and you’ve got a spoonful of magic in every bite.
Salt enhances the natural sweetness of caramel while cutting through the richness of the cheesecake filling. This combination creates an elevated taste experience that’s both comforting and indulgent. Whether you’re making these for a party, a potluck, or just a weeknight treat, the flavor profile alone makes them a standout.
If you love quick, oven-free treats, try our Easy Pistachio Tiramisu — a creamy, nutty twist on the classic Italian favorite.
Benefits of No-Bake Desserts for Busy Schedules
One of the biggest advantages of no bake salted caramel cheesecake cups is their simplicity. There’s no baking involved, which means:
- Faster prep time: No need to wait for the oven to preheat or the cheesecake to bake and cool.
- Beginner-friendly: Even kitchen newbies can pull off this recipe with confidence.
- No oven required: Ideal for hot summer days or small kitchens without full baking setups.
- Make-ahead convenience: These cups can be chilled and ready to serve when you need them.
Busy parents, students, and party hosts love how quick and foolproof no-bake desserts are. You can prep them in advance, keep them chilled, and serve them without any stress. Plus, individual dessert cups mean zero slicing or messy servings just grab and go.
Key Ingredients You’ll Need for No Bake Salted Caramel Cheesecake Cups
Main Components: Cream Cheese, Caramel, Crust Base
The magic of no bake salted caramel cheesecake cups begins with just a few staple ingredients, most of which you probably already have in your kitchen. These simple elements come together to create a luxurious dessert that’s quick to assemble and sure to impress.
Here’s a breakdown of the essentials:
| Ingredient | Purpose | Tips |
|---|---|---|
| Cream Cheese | Forms the rich, tangy base of the cheesecake layer | Use full-fat for creamier texture |
| Heavy Whipping Cream | Adds lightness and volume to the filling | Chill before whipping |
| Salted Caramel Sauce | Signature flavor and topping | Use high-quality for best taste |
| Graham Crackers / Biscoff | Forms the crunchy crust layer | Mix with melted butter |
| Butter | Binds the crust and adds richness | Unsalted or salted both work |
| Powdered Sugar | Sweetens the cheesecake mixture | Sift to avoid lumps |
| Vanilla Extract | Enhances flavor depth | Pure extract preferred |
The focus keyword appears naturally throughout the ingredient discussion, keeping SEO strong without sounding forced.
Pro Tip: Always use full-fat cream cheese for a smooth, firm texture. Low-fat versions often result in a runny filling that won’t set properly in cups.
Want something warm and indulgent? These Perfect Chocolate Lava Cakes are rich, gooey, and bake in under 15 minutes.
Store-Bought vs. Homemade Salted Caramel Sauce
Here’s where the debate gets delicious: should you make your own caramel sauce or buy one from the store?
Store-Bought Salted Caramel Pros
- Saves time
- Consistent flavor
- No candy thermometer needed
Homemade Salted Caramel Pros
- Customizable salt and sweetness levels
- Richer, deeper flavor
- Impressive to guests
If you’re in a rush, store-bought caramel is totally fine. Just look for one that’s thick, rich, and preferably made with real cream and butter. Avoid thin syrups—they’ll run right through your layers and make the dessert messy.
How to Make the Perfect No Bake Cheesecake Base
Types of Crusts: Graham Cracker, Biscoff, and More

A great crust sets the foundation for your no bake salted caramel cheesecake cups, adding contrast to the creamy filling and enhancing the overall texture. The best part? You’ve got options.
Here are three crust variations that pair beautifully with the salted caramel flavor:
| Crust Type | Flavor Profile | Best For |
|---|---|---|
| Graham Cracker | Lightly sweet, slightly nutty | Classic cheesecake lovers |
| Biscoff Cookie | Spiced, rich, with caramel undertones | Enhancing salted caramel notes |
| Oreo Crust (no filling) | Chocolatey, dense | Those craving a bold flavor twist |
Tip: For each version, combine crushed cookies with melted butter and a pinch of salt. Press the mixture into the bottom of your dessert cups to create a firm, flavorful base.
Step-by-Step Crust Preparation for Dessert Cups

Making the crust is the easiest part, and it takes just 10 minutes from start to finish.
Step-by-Step Instructions:
- Crush the Base: Use a food processor or zip-top bag with a rolling pin to finely crush your graham crackers, Biscoff cookies, or Oreos.
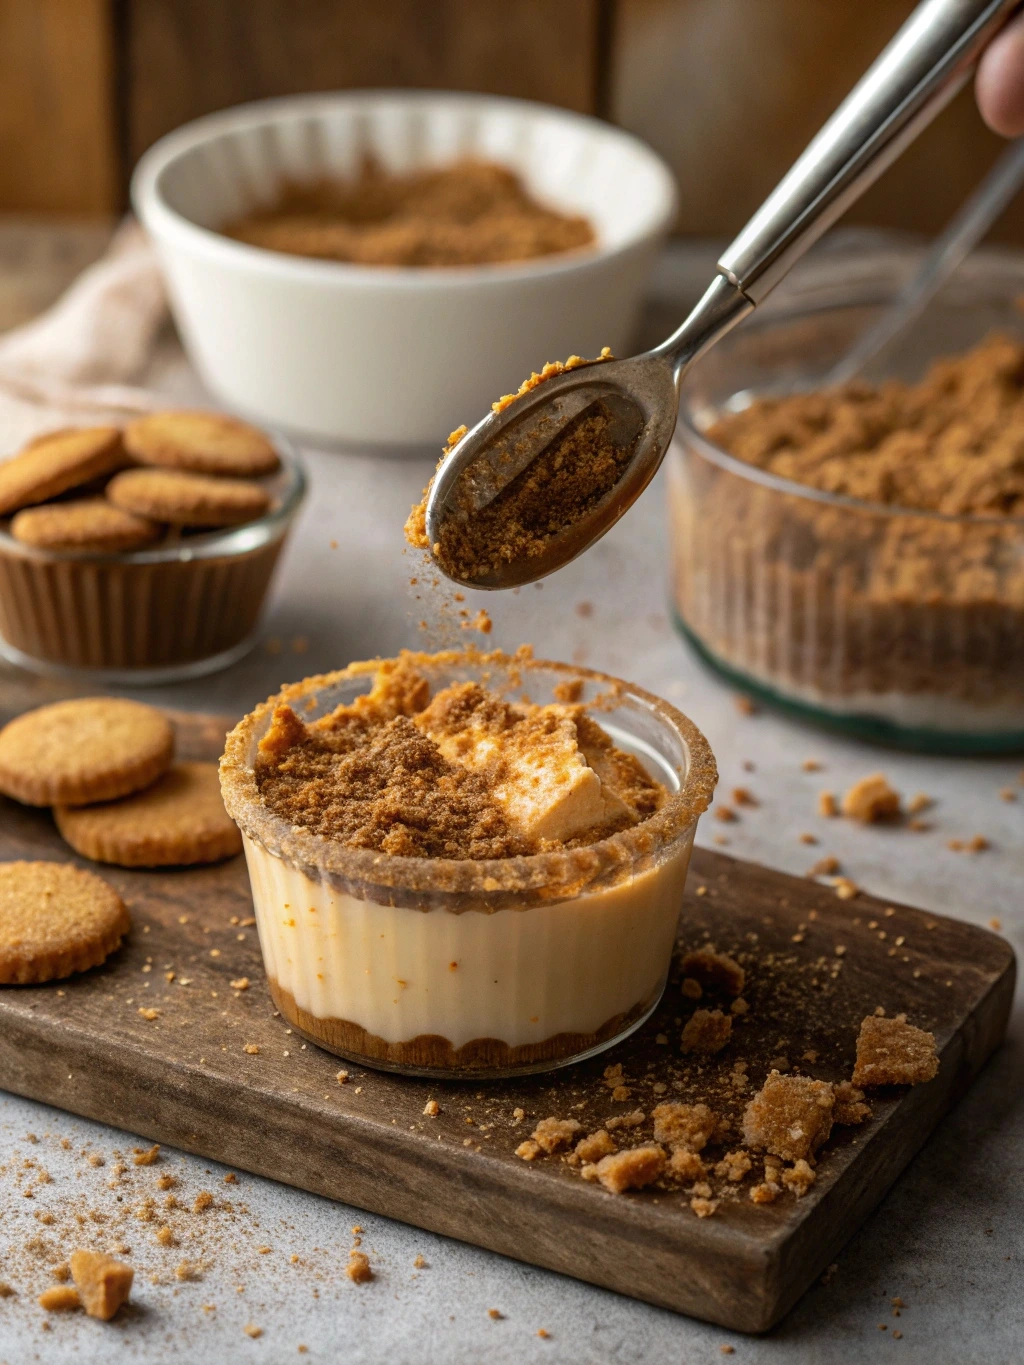
- Mix with Butter: In a bowl, combine about 1 ½ cups of crumbs with 5 tablespoons of melted butter and a pinch of salt. Stir until all crumbs are moist.
- Portion and Press: Spoon a few tablespoons into each dessert cup. Press down gently with the back of a spoon to create an even, compact crust layer.
- Chill Briefly: Place the cups in the fridge for 10–15 minutes to help the crust set before adding the filling.
This crust adds a buttery crunch that contrasts beautifully with the soft, airy cheesecake layer. Whether you go traditional with graham crackers or spiced with Biscoff, you’re starting your dessert cups off on the right foot.
Preparing the Cheesecake Filling for Your Cups
Achieving a Smooth and Creamy Cheesecake Layer
The heart of any no bake salted caramel cheesecake cup is the silky cheesecake filling. It should be smooth, rich, and just firm enough to hold its shape in the cup, while still melting in your mouth with every bite.
Here’s how to create that perfect no-bake cheesecake texture:
1. Use Room-Temperature Cream Cheese:
Cold cream cheese is hard to blend smoothly. Let it sit at room temperature for about 30 minutes to an hour before mixing.
2. Whip the Cream Separately:
To add fluffiness and volume, beat heavy cream until it forms stiff peaks. Fold this into your cream cheese mixture at the end for a mousse-like finish.
3. Blend Until Velvety:
Use an electric mixer to beat the cream cheese with powdered sugar and vanilla extract until completely smooth—no lumps. Add a tablespoon or two of caramel sauce into the mix to infuse the filling with a sweet, buttery flavor that ties the whole dessert together.
4. Fold, Don’t Stir:
Once your whipped cream is ready, gently fold it into the cream cheese base using a spatula. This keeps the texture light and airy, perfect for layering.
| Ingredient | Amount (for 6–8 cups) |
|---|---|
| Full-fat Cream Cheese | 16 oz (2 blocks) |
| Powdered Sugar | ½ cup |
| Vanilla Extract | 1 tsp |
| Heavy Whipping Cream | ¾ cup, whipped to stiff peaks |
| Salted Caramel Sauce | 2 tbsp (optional in filling) |
Flavor Enhancements and Mix-In Ideas
Want to make your no bake salted caramel cheesecake cups extra special? Here are some flavorful twists you can easily add to the filling:
- Espresso powder: Adds a mocha flair that complements caramel perfectly.
- Sea salt flakes: Stir in a pinch for a richer salted caramel flavor.
- Maple syrup: Swap out caramel for a fall-friendly variation.
- Mascarpone cheese: Blend it with cream cheese for a smoother, slightly sweeter base.
- Toffee bits or mini chocolate chips: Fold them in for a fun texture surprise.
Assembling Your No Bake Salted Caramel Cheesecake Cups

Layering Techniques for Visual Appeal
Now that you’ve nailed the crust and perfected the cheesecake filling, it’s time to assemble your no bake salted caramel cheesecake cups into beautiful, eye-catching desserts that look as good as they taste.
Layering matters. Here’s how to do it step by step for professional-looking results:
Step 1 – Start with the Crust Layer
Spoon about 2 tablespoons of your prepared crust mixture into the bottom of each dessert cup. Use the back of a spoon or a tart tamper to press it down evenly.
Step 2 – Add the Cheesecake Filling
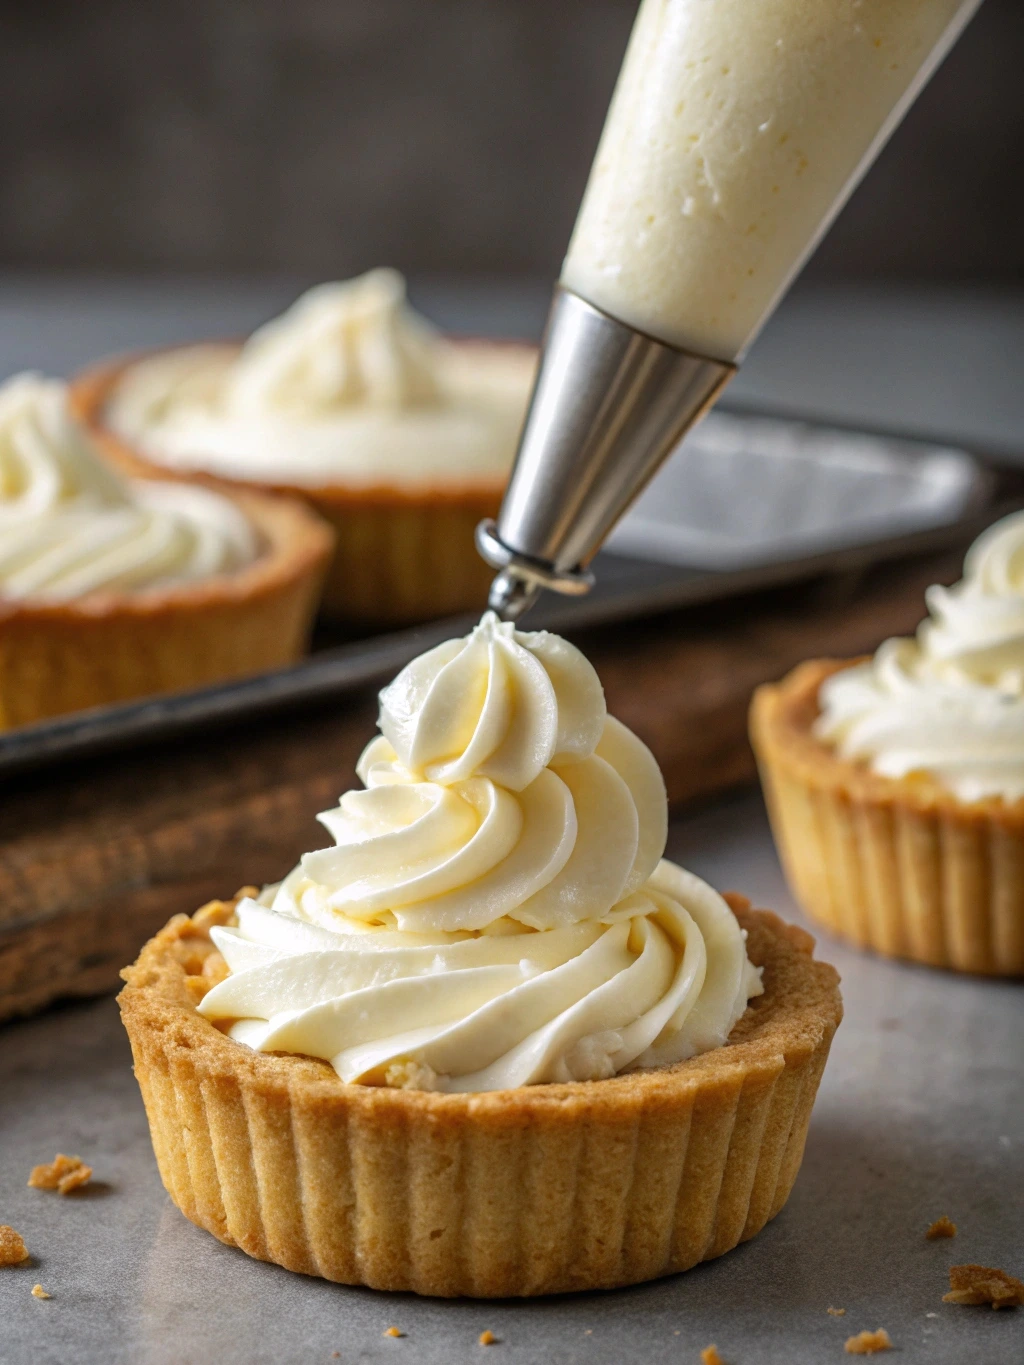
Scoop or pipe the creamy cheesecake filling over the crust layer. A piping bag gives the cleanest finish and keeps the layers distinct. Fill each cup about ¾ full to leave room for toppings.
Step 3 – Swirl or Layer Salted Caramel Sauce
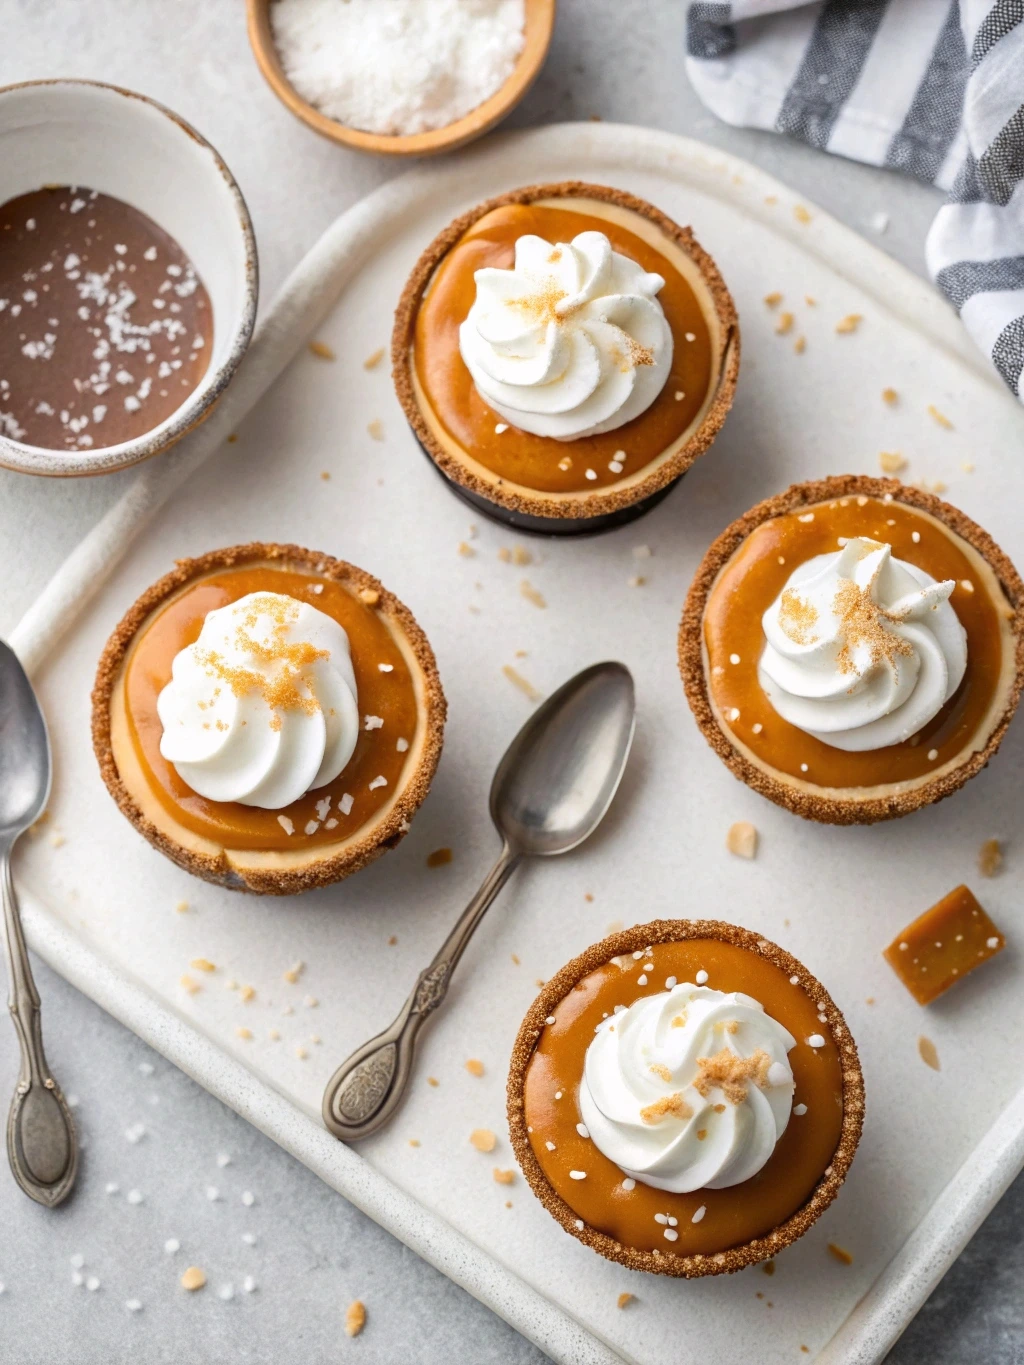
Drizzle a teaspoon (or more) of salted caramel sauce on top of the cheesecake layer. For a marbled look, gently swirl with a skewer or toothpick. Want bold layers? Add the caramel as a middle layer before the final topping.
Step 4 – Optional Garnishes
- Sprinkle with sea salt flakes for that signature salted finish
- Add crushed pretzels, chocolate shavings, or toffee bits for texture
- Top with whipped cream and a drizzle of extra caramel just before serving
This method ensures every bite contains all three layers—crunchy, creamy, and gooey.
For a creative dessert that blends cultures and textures, don’t miss our Baklava Bread Pudding — flaky, custardy, and unforgettable.
Tips for Clean and Neat Presentation
Presentation plays a big role, especially if you’re serving these cups for parties, holidays, or events. Here are a few pro tips to keep your no bake salted caramel cheesecake cups Instagram-worthy:
- Use clear dessert cups: So your beautiful layers are visible
- Wipe the insides of the cup with a damp cloth: Remove smudges after filling
- Chill before garnishing: Firm filling = cleaner drizzle and toppings
- Pipe with purpose: Use a star tip for the whipped cream topping to add flair
Choosing the Right Dessert Cups and Serving Sizes
Best Cup Sizes for Portion Control and Aesthetics
The container you use can make or break the look (and practicality) of your no bake salted caramel cheesecake cups. The right dessert cup balances visual appeal with the perfect serving size.
Here are some top cup options to consider:
| Cup Size | Volume | Ideal For |
|---|---|---|
| 4 oz | Small | Kids, mini desserts, bite-sized treats |
| 6 oz | Medium | Balanced portions for most adults |
| 8 oz | Large | Hearty servings, indulgent dessert fans |
For gatherings or events, the 6 oz cup hits the sweet spot—not too little, not too much. It’s generous enough to satisfy without overwhelming, and it allows space for multiple layers and garnishes.
Tip: Transparent plastic, acrylic, or glass cups work best. Not only do they hold their shape, but they also let guests admire the beautiful layers of crust, cheesecake, and caramel.
Glass vs. Plastic vs. Eco-Friendly Dessert Cup Options
The material of your dessert cups also matters especially if you’re thinking about sustainability, aesthetics, or convenience. Here’s how to choose:
| Material | Pros | Cons |
|---|---|---|
| Glass | Elegant, reusable, enhances visual appeal | Heavy, breakable, less portable |
| Plastic (clear) | Lightweight, disposable, clear for layering | Less eco-friendly, can look cheap |
| Eco-friendly (bamboo, palm, etc.) | Sustainable, unique presentation | Often not transparent, more rustic look |
If you’re serving at a casual event or picnic, disposable clear plastic works great. For weddings, holidays, or formal occasions, go with glass for that elevated feel. Eco-friendly cups are excellent for outdoor parties with a natural vibe.
Make-Ahead Tips and Storage Guidelines
How Far in Advance You Can Prepare the Cups
One of the best things about no bake salted caramel cheesecake cups is how wonderfully they fit into a make-ahead schedule. You can prepare them well in advance and simply pull them out when it’s time to serve—making them perfect for parties, events, or weekly dessert meal prep.
Here’s a general guide:
| Prep Timeline | Recommended Action |
|---|---|
| Same Day | Assemble in the morning, serve by evening |
| 1–2 Days Ahead | Ideal window for flavor melding and best texture |
| Up to 4 Days in Advance | Still great, but garnish closer to serving time |
For best results, store the cheesecake cups in the fridge, covered tightly with plastic wrap or individual lids if using dessert containers. This keeps them fresh, prevents drying out, and keeps fridge odors away.
Pro Tip: If you’re prepping for a party, hold off on adding garnishes like whipped cream, caramel drizzle, or toppings until just before serving. This keeps everything fresh and picture-perfect.
Storing and Freezing Suggestions for Best Results
Need to prep even further in advance? You can freeze these cheesecake cups yes, even with the caramel!
To Freeze:
- Assemble the crust and filling (skip garnishes).
- Cover each cup tightly with plastic wrap and aluminum foil.
- Freeze for up to 1 month.
To Serve from Frozen:
- Transfer to the fridge 6–8 hours before serving.
- Add your caramel drizzle and toppings once fully thawed.
Avoid refreezing once thawed to maintain texture and taste. And while freezing is fine, fresh refrigerated versions maintain the creamiest consistency.
Creative Variations of Salted Caramel Cheesecake Cups
Mini Cheesecakes with Different Toppings
While the classic no bake salted caramel cheesecake cups are hard to beat, you can easily switch things up with creative toppings that add texture, flavor, and visual flair. These variations are perfect for customizing your cups based on the season, event theme, or personal cravings.
Here are some irresistible topping combos:
| Topping | Flavor Boost | Occasion |
|---|---|---|
| Crushed Pretzels | Salty crunch to balance sweetness | Game days, casual events |
| Candied Pecans | Nutty sweetness with texture | Fall gatherings |
| Chocolate Ganache Drizzle | Richness and decadence | Valentine’s Day |
| Sliced Bananas + Caramel | Banana foster-style twist | Brunch or tropical theme |
| Apple pie filling | Cozy and comforting | Thanksgiving |
You can even create a cheesecake cup “bar” with various toppings for guests to personalize their own. It’s fun, interactive, and perfect for parties.
Turning It into a Single Large No-Bake Cheesecake
Yes, you can absolutely transform this recipe into one large no bake salted caramel cheesecake if you prefer slicing over scooping. It’s the same great taste, just in a shareable format.
How to Do It:
- Use a 9-inch springform pan (or similar dish) for a sturdy crust and clean slices.
- Press the crust evenly into the bottom and slightly up the sides.
- Spread the filling gently with a spatula to level it out.
- Drizzle the caramel in a swirl on top and chill at least 4–6 hours before slicing.
- Add garnishes just before serving to preserve their look and texture.
This variation is great for formal dinners, family gatherings, and holiday spreads.
Pairings and Presentation Ideas for Special Occasions
Drink Pairings and Serving Suggestions
To elevate your no bake salted caramel cheesecake cups beyond a simple dessert and turn them into a full sensory experience, pair them with complementary drinks and thoughtful serving elements. Whether you’re hosting a formal event or a casual dinner, these pairings enhance the rich, sweet, and salty balance of the dish.
Perfect Drink Pairings:
| Drink | Why It Works |
|---|---|
| Espresso or Coffee | Cuts through the richness; enhances the caramel flavor |
| Irish Cream Liqueur | Creamy and sweet with a mild kick—pairs seamlessly |
| Dessert Wine | Moscato or late-harvest Riesling balance salt and sweetness |
| Spiked Apple Cider | A cozy fall-friendly match for caramel notes |
| Cold Brew with Milk | Refreshing and balanced—great for warm days |
Serve drinks in elegant glassware and garnish with cinnamon sticks or a caramel drizzle on the rim for extra flair.
Decor and Plating Tips for Parties and Gatherings
Presentation transforms these cups from a simple dessert to a showstopper. Here are easy, impressive ideas to make your no bake salted caramel cheesecake cups pop on any dessert table:
1. Themed Garnishes:
- Autumn: Top with mini caramel apples on skewers.
- Holiday: Sprinkle edible gold dust or crushed candy canes.
- Summer: Add a fresh raspberry and mint leaf.
2. Serving Trays & Tiers:
Place your cups on mirrored trays, wooden dessert boards, or tiered cupcake stands to add height and drama to the dessert table.
3. Personalized Tags or Flags:
Add name tags, flavor labels, or “Made with Love” flags using toothpicks and paper for weddings and baby showers.
4. Napkins and Spoons with Style:
Coordinate your spoons and napkins with the event’s color scheme. Mini gold spoons or wooden dessert forks look great and are eco-friendly too.
Your Questions About No Bake Salted Caramel Cheesecake Cups Answered
Can I use store-bought salted caramel sauce?
Absolutely. Store-bought salted caramel sauce works perfectly for these cheesecake cups and is a great time-saver. Look for a thick, rich sauce made with real cream and butter. Avoid runny syrups, as they can bleed into the cheesecake layer and affect presentation. If you’re aiming for a more homemade taste, you can enhance a store-bought version by warming it and adding a pinch of sea salt.
Can I make this as one large cheesecake instead?
Yes, you can easily convert this recipe into a single, full-size no bake salted caramel cheesecake using a 9-inch springform pan. Prepare the crust and filling as described, layer them in the pan, and chill for 4–6 hours or until set. Drizzle with caramel just before serving for a stunning centerpiece dessert.
What size dessert cups should I use?
The ideal cup size is 6 oz—just enough for satisfying portions while keeping the presentation elegant and balanced. Smaller 4 oz cups are great for bite-sized servings or party samplers, while 8 oz cups are perfect for indulgent dessert lovers.
Use clear plastic or glass cups to showcase the beautiful layers of crust, cheesecake, and caramel.
Can I prepare these cheesecake cups ahead of time?
Yes, these are perfect make-ahead desserts. Prepare and assemble your no bake salted caramel cheesecake cups up to 2–3 days in advance and store them in the fridge. Just wait to add toppings or garnishes (like whipped cream or caramel drizzle) until shortly before serving to keep them looking fresh.
They can even be frozen (without toppings) for up to a month. Simply thaw in the refrigerator for several hours before serving.
Why These Cheesecake Cups Deserve a Spot in Your Recipe Box
No bake salted caramel cheesecake cups check every box: easy to prepare, crowd-pleasing, visually stunning, and endlessly adaptable. With a velvety cream cheese filling layered over a buttery crust and topped with golden salted caramel, each spoonful is a perfect bite of indulgence. Whether you’re hosting a dinner party, planning a holiday spread, or just need a quick make-ahead dessert, these cups deliver big flavor with minimal effort.
You’ve learned how to choose the best ingredients, assemble like a pro, prepare ahead, and even personalize with toppings and creative variations. You’ve also got answers to common questions that home bakers often ask.
From mini party cups to full-sized showstoppers, the flexibility of this no-bake treat means it can fit almost any occasion. The only hard part? Trying not to eat them all at once.

