Introduction
Mini cheesecake pavlovas are a delightful fusion of two classic desserts—light, crisp meringue shells and rich, tangy cheesecake filling. These bite-sized treats are not only visually stunning but also offer a satisfying contrast of textures and flavors that make them ideal for special occasions, holidays, or casual gatherings.
In this detailed guide, we’ll walk you through everything you need to know to make perfect mini cheesecake pavlovas from scratch. You’ll learn how to achieve the ideal meringue texture, whip up a no-bake cheesecake filling, and customize your toppings with fresh fruit, sauces, or a dusting of powdered sugar. Whether you’re baking for a crowd or just want a sweet treat that feels a little fancy, this guide has you covered.
Don’t miss our Perfect Chocolate Lava Cakes for another crowd-pleasing dessert with a gooey center.
Table of Contents

Mini Cheesecake Pavlovas: The Perfect Bite-Sized Dessert for Any Occasion
- Total Time: 30 minutes
- Yield: 8–10 mini pavlovas 1x
Description
Mini Cheesecake Pavlovas are the show-stopping dessert you need right now. 🍓 Rich, crispy, and creamy—here’s your step-by-step guide to making them perfect.
Ingredients
4 egg whites
1 cup superfine sugar
1 tsp vinegar
1 tsp cornstarch
1 tsp vanilla extract
8 oz cream cheese
1/2 cup powdered sugar
1/2 tsp vanilla
1/2 cup heavy cream
Fresh fruits and toppings of choice
Instructions
Whip egg whites to stiff peaks, gradually adding sugar.
Fold in cornstarch, vinegar, vanilla.
Shape mini nests on parchment, bake at 225°F for 60–75 mins. Cool completely.
Beat cream cheese, sugar, and vanilla. Fold in whipped cream. Chill.
Fill cooled shells. Add toppings. Serve immediately.
- Prep Time: 20 minutes
- Cook Time: 75 minutes
Understanding the Basics of Mini Cheesecake Pavlovas
What Are Mini Cheesecake Pavlovas?
Mini cheesecake pavlovas are an elegant twist on the traditional pavlova dessert. Originally from Australia and New Zealand, a pavlova typically consists of a large meringue base topped with whipped cream and fresh fruit. This mini version, however, adds a creamy cheesecake filling in place of whipped cream, resulting in a richer, more indulgent dessert—all in a convenient single-serve format.
The base is made from egg whites, whipped until stiff and baked low and slow to create a crisp exterior with a soft, marshmallow-like interior. Once cooled, the centers are filled with a silky cheesecake mixture and finished with fresh berries or seasonal fruit.
This combo offers a modern update to a beloved classic and is ideal for parties, baby showers, brunches, and even romantic dinners.
Why They’re So Popular
There’s a good reason why mini cheesecake pavlovas have become a hit in home kitchens and bakeries alike. They strike the perfect balance between light and decadent, making them feel indulgent without being overly heavy.
They also score major points in presentation—those glossy meringue shells and vibrant fruit toppings are always a showstopper. And because they’re portioned individually, they make serving and storing incredibly simple.
Some other reasons people love these mini pavlovas:
| Reason | Benefit |
|---|---|
| Easy to Customize | Switch up the fruit, drizzle with sauces, or add chocolate shavings. |
| Make-Ahead Friendly | Prepare the shells ahead of time and assemble just before serving. |
| Naturally Gluten-Free | Great for guests with dietary restrictions. |
| No Baking Required for the Filling | Keeps the process simple and fast. |
Looking for inspiration? Try our Baklava Bread Pudding Recipe a creative fusion dessert that plays with creamy and crunchy textures, just like pavlovas.
Key Ingredients You’ll Need
To get started with mini cheesecake pavlovas, you only need a handful of basic ingredients. Here’s a quick breakdown:
For the Meringue:
- Egg whites (room temperature)
- Granulated sugar
- Cream of tartar or vinegar
- Cornstarch
- Vanilla extract
For the Cheesecake Filling:
- Cream cheese (softened)
- Powdered sugar
- Vanilla extract
- Heavy cream or sour cream (for a lighter texture)
Toppings (Optional):
- Fresh fruit (berries, kiwi, mango)
- Fruit compotes
- Lemon curd
- Chocolate sauce
- Mint leaves for garnish
Each component plays a key role in building layers of flavor and texture. The result? A dessert that’s crisp, creamy, sweet, and fresh—all in one bite.
How to Make the Perfect Meringue Base for Mini Cheesecake Pavlovas

Mastering the Meringue Shells
The success of mini cheesecake pavlovas hinges on nailing the meringue base. This crispy, cloud-like shell is the heart of the dessert—light as air on the outside with a soft, marshmallowy center.
To make the perfect meringue, start with room temperature egg whites. Cold whites don’t whip up as well and won’t give you the volume needed. Add a pinch of cream of tartar or a splash of white vinegar to help stabilize the egg whites as they whip.
Gradually beat in superfine sugar until the mixture forms glossy, stiff peaks. You’ll know you’ve hit the sweet spot when you can flip the bowl upside down and nothing moves.
Common Meringue Mistakes to Avoid
Making meringue isn’t difficult, but there are a few key pitfalls to watch out for:
| Mistake | Fix |
|---|---|
| Greasy bowl or utensils | Always clean your mixing bowl thoroughly. Fat interferes with whipping. |
| Adding sugar too fast | Add sugar gradually to avoid deflating the whites. |
| Overbeating | Stop once stiff peaks form; overbeating can cause grainy texture. |
Shaping and Baking the Mini Meringues
Once your meringue is ready, spoon or pipe it onto a parchment-lined baking sheet. Create little nests by using the back of a spoon to press a small dip into the center of each mound—this is where your cheesecake filling will go later.
Bake the shells low and slow—225°F (about 110°C)—for about 60–75 minutes. Then, turn off the oven and let them cool completely inside with the door slightly ajar. This prevents sudden temperature changes that cause cracks or collapsing.
Whipping Up the No-Bake Cheesecake Filling
Creating the Creamy Cheesecake Center
Now that your meringue shells are baked and cooled, it’s time to prepare the luscious filling that takes mini cheesecake pavlovas to the next level. Unlike traditional baked cheesecake, this version is no-bake, quick, and incredibly creamy.
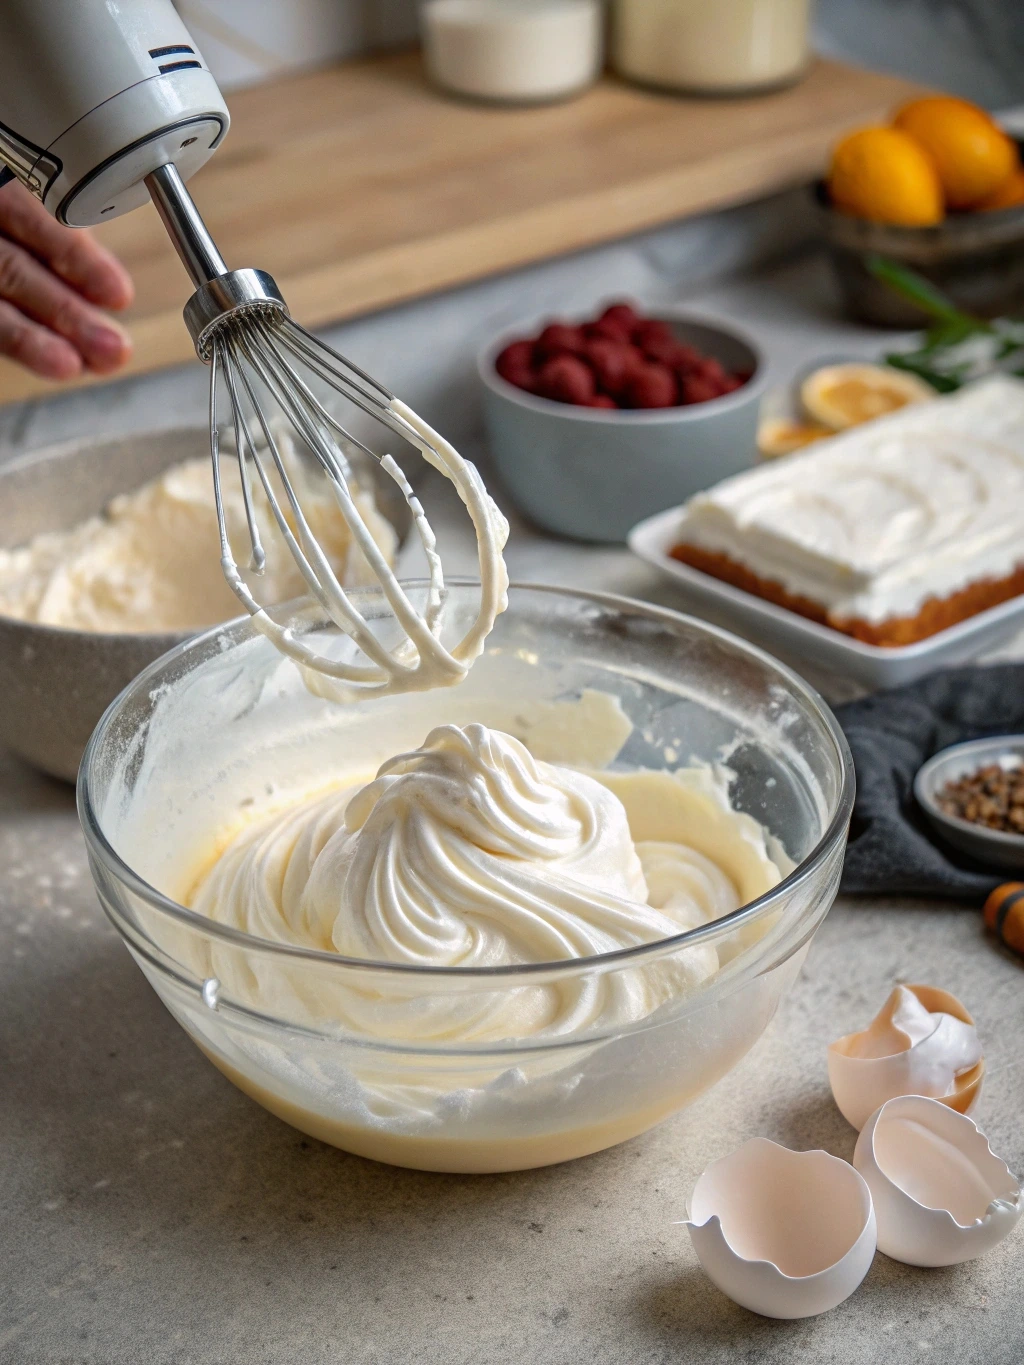
Start with room temperature cream cheese to avoid lumps and ensure smooth blending. Using a hand mixer or stand mixer, beat the cream cheese until fluffy. Then, slowly incorporate powdered sugar and vanilla extract. The powdered sugar adds sweetness while also helping to stabilize the mix.
To create a light, mousse-like texture, fold in whipped heavy cream or sour cream. This step is key for giving the filling that cloud-like feel that pairs beautifully with the crisp meringue base.
Optional Flavor Boosters:
- A splash of lemon juice or zest for brightness
- Almond or coconut extract for added depth
- Melted white chocolate for richness
This creamy base is versatile, and small tweaks can dramatically shift the overall flavor profile—perfect for seasonal or themed desserts.
Filling and Chilling for Best Results
Once the cheesecake filling is fully blended, it’s best to chill it for at least 30 minutes to firm up before assembling your mini pavlovas. This not only improves the texture but also makes piping or spooning it into the meringue nests easier and cleaner.
You can transfer the filling to a piping bag with a star or round tip for a bakery-style presentation, or simply spoon it in for a rustic, homemade look.
Topping Ideas to Elevate Your Mini Cheesecake Pavlovas

Fresh Fruit: The Classic Pavlova Garnish
Nothing complements the creamy filling and crisp meringue of mini cheesecake pavlovas quite like fresh fruit toppings. They add color, brightness, and a natural sweetness that balances the richness of the cheesecake base.
Here are some top fruit choices to consider:
| Fruit | Flavor Notes | Pairs Well With |
|---|---|---|
| Strawberries | Sweet & tangy | Balsamic drizzle, mint |
| Blueberries | Juicy & mild | Lemon zest, honey |
| Kiwi | Tart & tropical | Coconut flakes |
| Raspberries | Bold & slightly sour | Dark chocolate, vanilla |
| Mango | Smooth & floral | Lime zest, coconut cream |
Cut fruit into small, bite-sized pieces and arrange artfully on top of each pavlova for a polished, professional look.
Drizzles, Dusts, and Decorative Touches
Take your mini cheesecake pavlovas from homemade to high-end by adding finishing touches that elevate presentation and flavor.
Sauces and Drizzles:
- Fruit coulis (like raspberry or strawberry)
- Salted caramel
- Dark chocolate ganache
- Lemon curd
Toppings and Garnishes:
- Shaved white or dark chocolate
- Toasted nuts (almonds, pistachios)
- Edible flowers for a gourmet touch
- A dusting of powdered sugar for elegance
These small additions not only enhance the overall taste but also boost visual appeal, making your pavlovas irresistible at first glance.
Check out our Baklava Fusion Dessert for topping ideas with nuts, syrups, and cream that could inspire your pavlova garnish combinations.
Common Mistakes to Avoid When Making Mini Cheesecake Pavlovas
Mistake #1: Overbeating or Underbeating the Meringue
When whipping egg whites for mini cheesecake pavlovas, the consistency of the meringue matters more than you might think. If underbeaten, the whites won’t hold their shape. If overbeaten, they’ll become grainy and collapse in the oven.
How to fix it: Whip egg whites until stiff, glossy peaks form. When you lift the beaters, the meringue should stand tall without drooping. The mixture should also feel smooth when rubbed between your fingers—if it feels gritty, the sugar isn’t fully dissolved yet.
Mistake #2: Baking Too Hot or Too Fast
Mini pavlovas are delicate. A high baking temperature can cause them to brown, crack, or collapse. The key to success lies in low and slow baking, followed by gradual cooling.
Tip: Bake at 225°F (110°C) for 60–75 minutes. Then, turn off the oven and let them cool completely inside with the door slightly ajar. Sudden temperature shifts cause cracking and collapsing.
Mistake #3: Filling Too Early
Because meringue shells are highly sensitive to moisture, adding the cheesecake filling too early causes the base to soften and lose its crisp structure.
Solution: Fill the meringue nests just before serving. You can pipe or spoon the cheesecake mix into the shells after chilling it. This keeps the texture contrast sharp and fresh.
Mistake #4: Skipping the Parchment Paper
Placing meringue directly on the baking tray can result in sticking, burning, or uneven shapes.
Fix it fast: Always use parchment paper or a non-stick silicone baking mat. Lightly mark circles using a cup or cookie cutter as a guide for uniform mini pavlovas.
Mistake #5: Storing Incorrectly
After baking, many bakers ruin their individual pavlovas by storing them improperly. Meringue is sensitive to humidity and should never be refrigerated without protection.
Correct method: Store unfilled shells in an airtight container at room temperature for up to 2 days. Once filled, serve immediately or within 1–2 hours.
Make-Ahead Tips and Storage for Mini Cheesecake Pavlovas
Can You Make Mini Cheesecake Pavlovas in Advance?
Absolutely. One of the best things about mini cheesecake pavlovas is that they’re a make-ahead dessert dream—as long as you assemble them at the right time. With a bit of planning, you can break down the process into parts, making prep easier and serving stress-free.
Here’s a smart prep-ahead strategy:
| Component | Make-Ahead Time | Storage Tip |
|---|---|---|
| Meringue Shells | Up to 2 days | Store in airtight container at room temperature |
| Cheesecake Filling | Up to 3 days | Refrigerate in sealed container |
| Fruit Toppings | Day of | Keep washed, cut, and chilled |
This method helps you save time without compromising texture or flavor. It also makes these individual cheesecake desserts perfect for dinner parties, holiday events, or brunches.
Best Practices for Storing Mini Cheesecake Pavlovas
The key to keeping your mini pavlova bites fresh is knowing how to store each element separately.
For Meringue Shells:
- Store in a cool, dry place.
- Keep them away from humidity—avoid the fridge until they’re filled.
- Use parchment paper to separate layers if stacking.
For Cheesecake Filling:
- Store in the fridge in an airtight container.
- Stir gently before using if it stiffens slightly.
- Don’t freeze the filling—it affects the creamy texture.
Assembled Pavlovas:
Once assembled, these should be served immediately. If you need to store filled pavlovas for a short time:
- Place them on a tray and cover loosely with plastic wrap.
- Keep them in the fridge for no more than 2 hours.
- Know that the meringue will start softening due to the moisture in the filling.
Seasonal Variations and Flavor Combinations for Mini Cheesecake Pavlovas
Mini Cheesecake Pavlovas for Every Season
One of the greatest advantages of mini cheesecake pavlovas is how easily you can tailor them to any season or event. From summery berry toppings to cozy holiday flavors, the base remains the same while your presentation and ingredients can reflect the time of year.
Spring:
- Toppings: Strawberries, rhubarb compote, edible flowers
- Filling Twist: Add lemon zest to the cheesecake base
- Garnish: Mint sprigs and a drizzle of honey
Summer:
- Toppings: Fresh blueberries, peaches, blackberries
- Filling Twist: Whip in a bit of Greek yogurt for tang
- Garnish: Crushed graham crackers or coconut flakes
Fall:
- Toppings: Caramelized apples or pears, candied pecans
- Filling Twist: Blend in pumpkin purée and cinnamon
- Garnish: Maple syrup drizzle, nutmeg sprinkle
Winter:
- Toppings: Pomegranate seeds, sugared cranberries
- Filling Twist: Add a splash of peppermint extract or orange zest
- Garnish: White chocolate shavings, cocoa dusting
Unique Flavor Combinations to Try
If you’re looking to move beyond traditional fruit toppings, there’s a world of bold combinations that can elevate your individual pavlova desserts from delightful to unforgettable.
| Flavor Combo | Description |
|---|---|
| Chocolate & Raspberry | Add cocoa powder to the filling, top with fresh raspberries and dark chocolate curls |
| Coconut & Pineapple | Stir shredded coconut into the base, finish with pineapple chunks and lime zest |
| Matcha & Mango | Infuse cheesecake with matcha powder, garnish with ripe mango slices |
| Salted Caramel & Banana | Swirl caramel into the filling and layer with banana slices and crushed toffee |
| Espresso & Hazelnut | Add instant espresso to filling, top with chopped hazelnuts and chocolate drizzle |
Pro tip: When experimenting, always keep balance in mind—acidity from fruit can offset richness from the cheesecake, and crunchy toppings add texture contrast to the soft interior.
How to Serve and Present Mini Cheesecake Pavlovas Like a Pro

Plating for Maximum Visual Impact
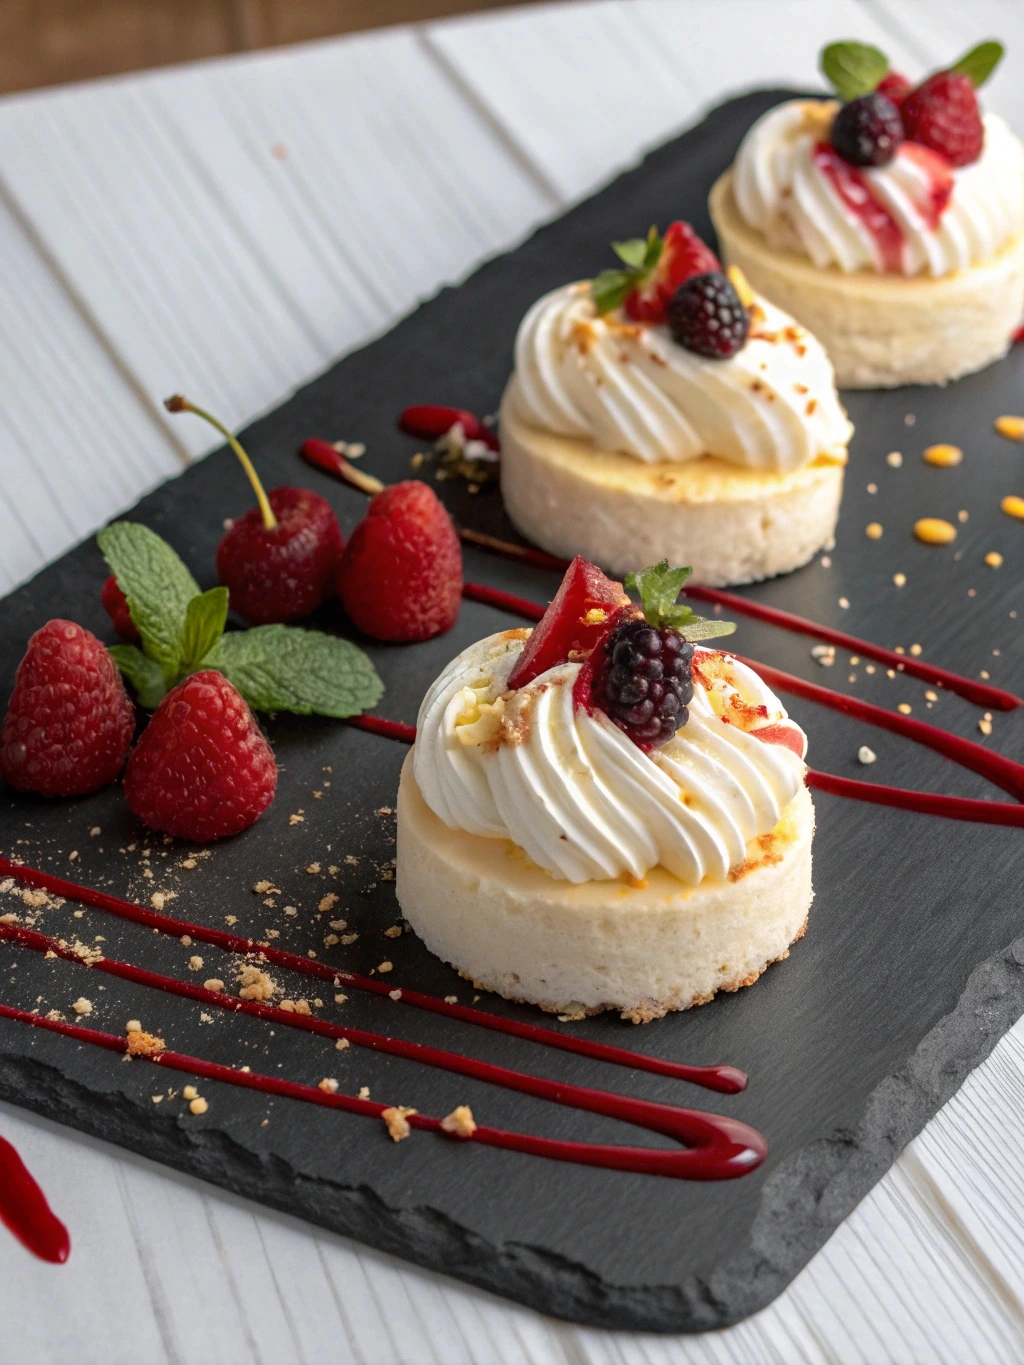
When it comes to mini cheesecake pavlovas, presentation is half the experience. Their beautiful layers and colors already make them impressive, but with a few plating tricks, you can elevate them to restaurant quality right at home.
Smart Plating Tips:
- Use white or neutral-toned plates to make the toppings pop.
- Stagger the pavlovas on a large platter rather than placing them in rows—this gives a more natural, boutique-style display.
- Add a swoosh of sauce on the plate (berry coulis, caramel, or chocolate) under or beside each pavlova for added flair.
- Top each pavlova with a fresh mint leaf or edible flower for a polished look.
Check out our Guide to Plating Desserts Like a Pastry Chef to impress guests with professional flair.
Creating a Dessert Bar with Pavlovas
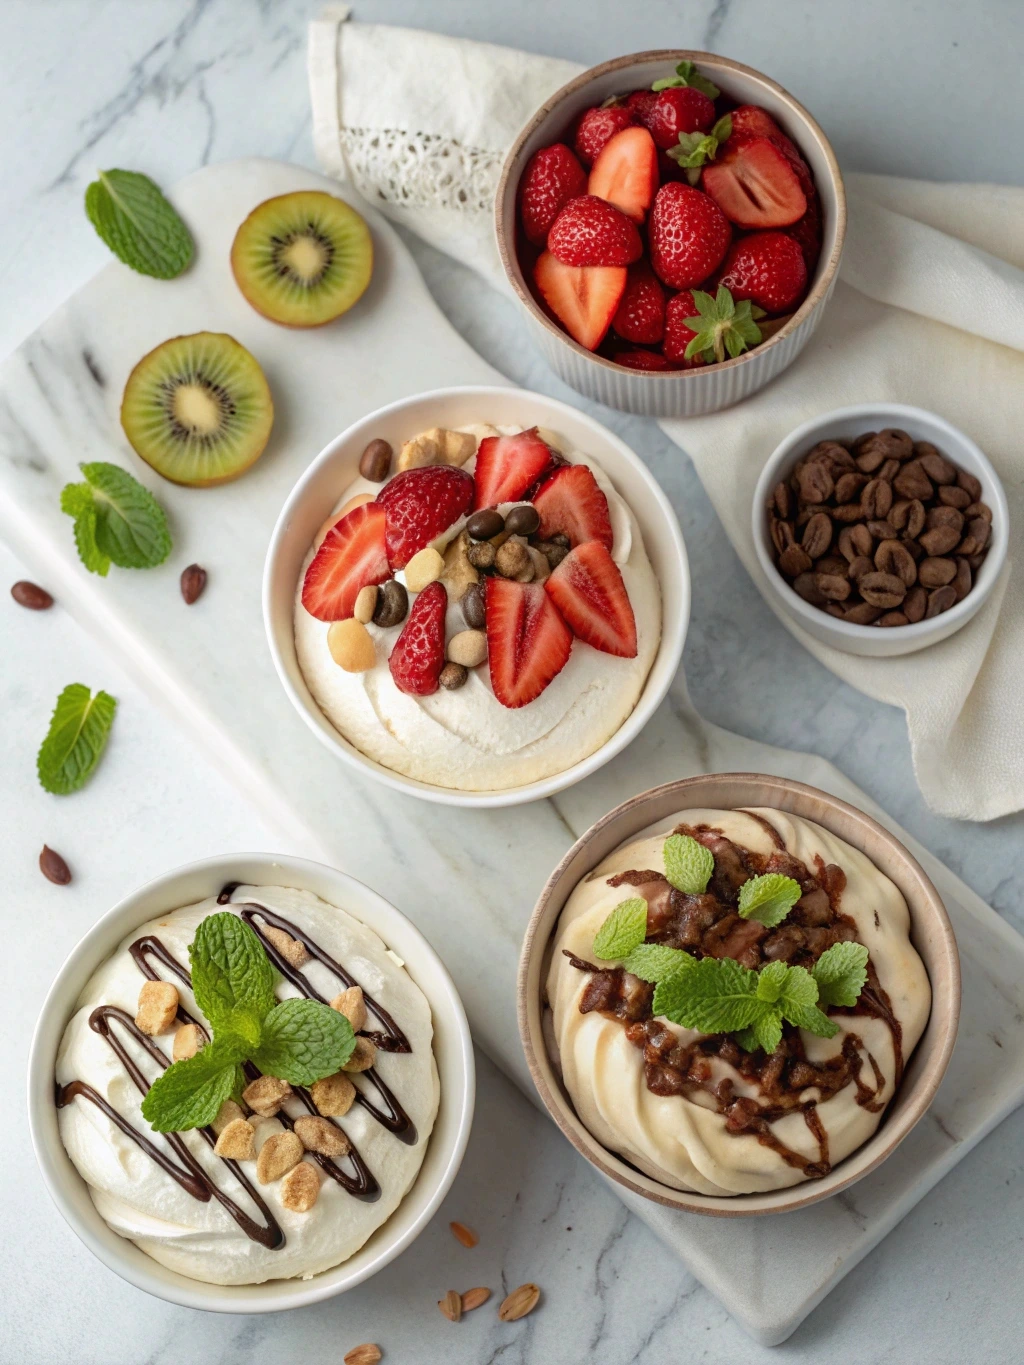
Want to entertain a crowd or offer more variety? Turn your mini cheesecake pavlovas into a fun, interactive dessert bar. Let guests customize their own pavlova with different toppings and sauces.
What to Include in a DIY Pavlova Bar:
- Meringue shells (pre-baked)
- Cheesecake filling (in a piping bag or bowl)
- Bowls of fresh fruit: berries, mango, kiwi, pineapple
- Sauces: chocolate ganache, lemon curd, caramel
- Crunchy toppings: nuts, toasted coconut, crushed cookies
- Garnishes: mint leaves, powdered sugar, edible flowers
Label each ingredient and include small spoons and tongs for easy self-service. It’s a crowd-pleaser and adds an interactive element to your gathering.
Pairing Pavlovas with Drinks
Pairing drinks with dessert brings out complementary flavors and creates a memorable experience. Consider these matches for your mini pavlova bites:
| Drink | Why It Works |
|---|---|
| Sparkling wine | Balances sweetness with acidity |
| Coffee or espresso | Cuts through richness of cheesecake |
| Fruit-infused tea | Enhances fruit toppings |
| White dessert wine | Adds a luxurious, sweet note |
Mini Cheesecake Pavlovas FAQs Answered
Can I make these mini cheesecake pavlovas ahead of time?
Yes, you can! Mini cheesecake pavlovas are great for prepping in stages. The meringue shells can be made up to two days in advance—just store them in an airtight container at room temperature, away from moisture and heat. The cheesecake filling can be refrigerated for up to three days before assembling.
However, it’s important not to assemble the pavlovas until just before serving. Adding the filling too early will cause the meringue to soften and lose its crispy texture. If you’re hosting an event, prep the components ahead and do a quick assembly right before dessert time.
Can I turn this into one giant pavlova?
Definitely! If you’re looking to make a bold statement, you can easily turn your mini cheesecake pavlovas into a single, show-stopping giant pavlova. The ingredients stay the same—you’ll just adjust the baking time and shape.
make a large pavlova:
Spoon the meringue into a 9–10 inch round nest on a baking sheet lined with parchment paper.
Bake at 225°F (110°C) for 1.5–2 hours.
Let it cool completely in the oven with the door slightly ajar.
Once cooled, top with your cheesecake filling and favorite fruit or sauces. It makes an incredible centerpiece for celebrations and looks beautiful on a cake stand.
Conclusion: Your New Go-To Dessert – Mini Cheesecake Pavlovas
Whether you’re entertaining guests or just want a little indulgence for yourself, mini cheesecake pavlovas offer everything you could ask for in a dessert—crispy meringue shells, rich cheesecake filling, and endless topping possibilities. They’re visually stunning, versatile, and surprisingly easy to make when you follow the right steps.
You’ve now got a full breakdown—from baking flawless meringue to creating seasonal variations and mastering storage tips. Plus, with make-ahead options and presentation tricks, you can enjoy this elegant dessert without last-minute stress.
Discover great ideas like our Chocolate Lava Cake Tutorial to master texture contrasts in desserts.
For more recipes, visit our facebook page

